Alcohol ink techniques: blooming, tilting and metallics
A handful of simple moves make almost every alcohol ink look. Here's what each technique does and how to use it, whether you're working with real inks or in the Alcoholink simulator.
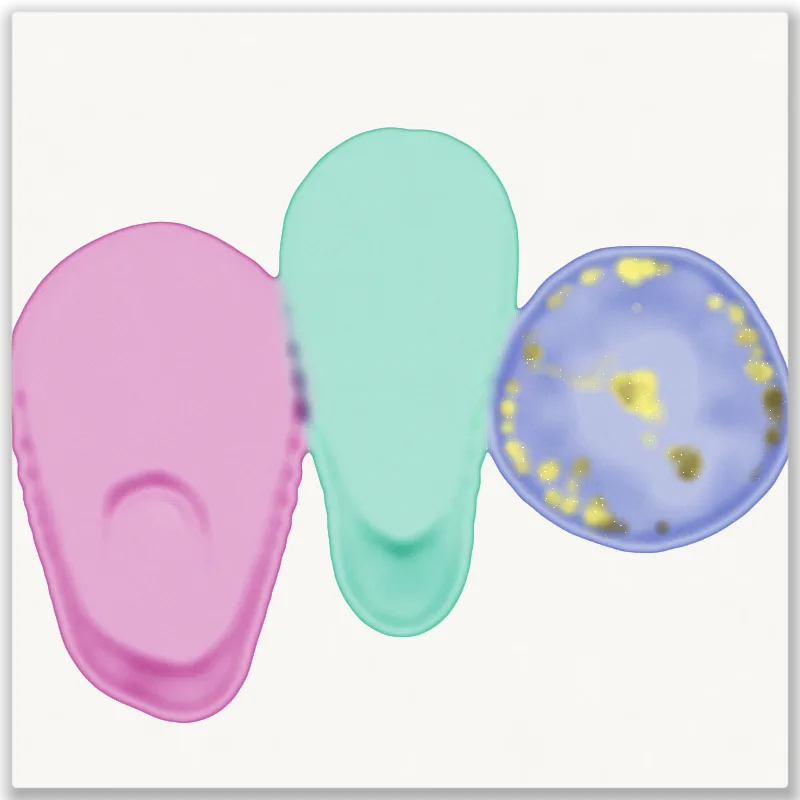
Blooming (cells)
Drop pure alcohol into wet or dry ink. The alcohol pushes the colour outwards, leaving a pale centre with a darker, lacy ring where the pigment piles up. Small drops make small cells; a bigger pour makes dramatic blooms. Spraying a fine mist of alcohol over the ink gives lots of tiny cells, like lace or speckles.
- Drop into wet ink for soft, feathery blooms.
- Drop into dry ink for crisp rings and clearer white centres.
Tilting
Lifting one side of the surface lets wet ink run downhill. Slow tilts make long, flowing streaks; quick changes of direction make waves and veils. Tilting is also the gentlest way to merge two colours. In Alcoholink you can drag to tilt, or switch on Tilt and simply tip your phone.
Blowing
Air pushes wet ink across the surface and dries it at the same time. Blow along the edge of a pour with a straw to drag out fine veins, or use a hair dryer on low to sweep large areas. Hold the air still over one spot to push the ink outwards in a ring.
Metallics
Gold, silver, copper and pearl mixatives are heavier than the dye, so as the ink dries they settle into the rims and veins and catch the light. Add a drop at the edge of a wet pour, or mix a little into an ink before you pour it. Use them sparingly: a few lines of gold go further than a flood.
Layering and sealing
Because alcohol re-wets dried ink, every new layer can move the one below. To build depth, let a layer dry completely and seal it before adding more on top. In Alcoholink, "Seal the board" locks in what's there, like a coat of resin.
Putting it together
- Pour two or three colours side by side.
- Tilt so they meet and blend at the edges.
- Blow along the edges to pull out veins.
- Drop alcohol into the middle for a bloom.
- Touch gold into the rims just before it dries.